Midterm Project
Team member: Jiyou, Jenn and Amelia

I was interested in the Heart rate sensor, and the midterm theme was Halloween. We selected the main theme of our project, ‘trick or treat’ and we began developing the concept.
Intro:
Theme Selection (Unexpected Fear)
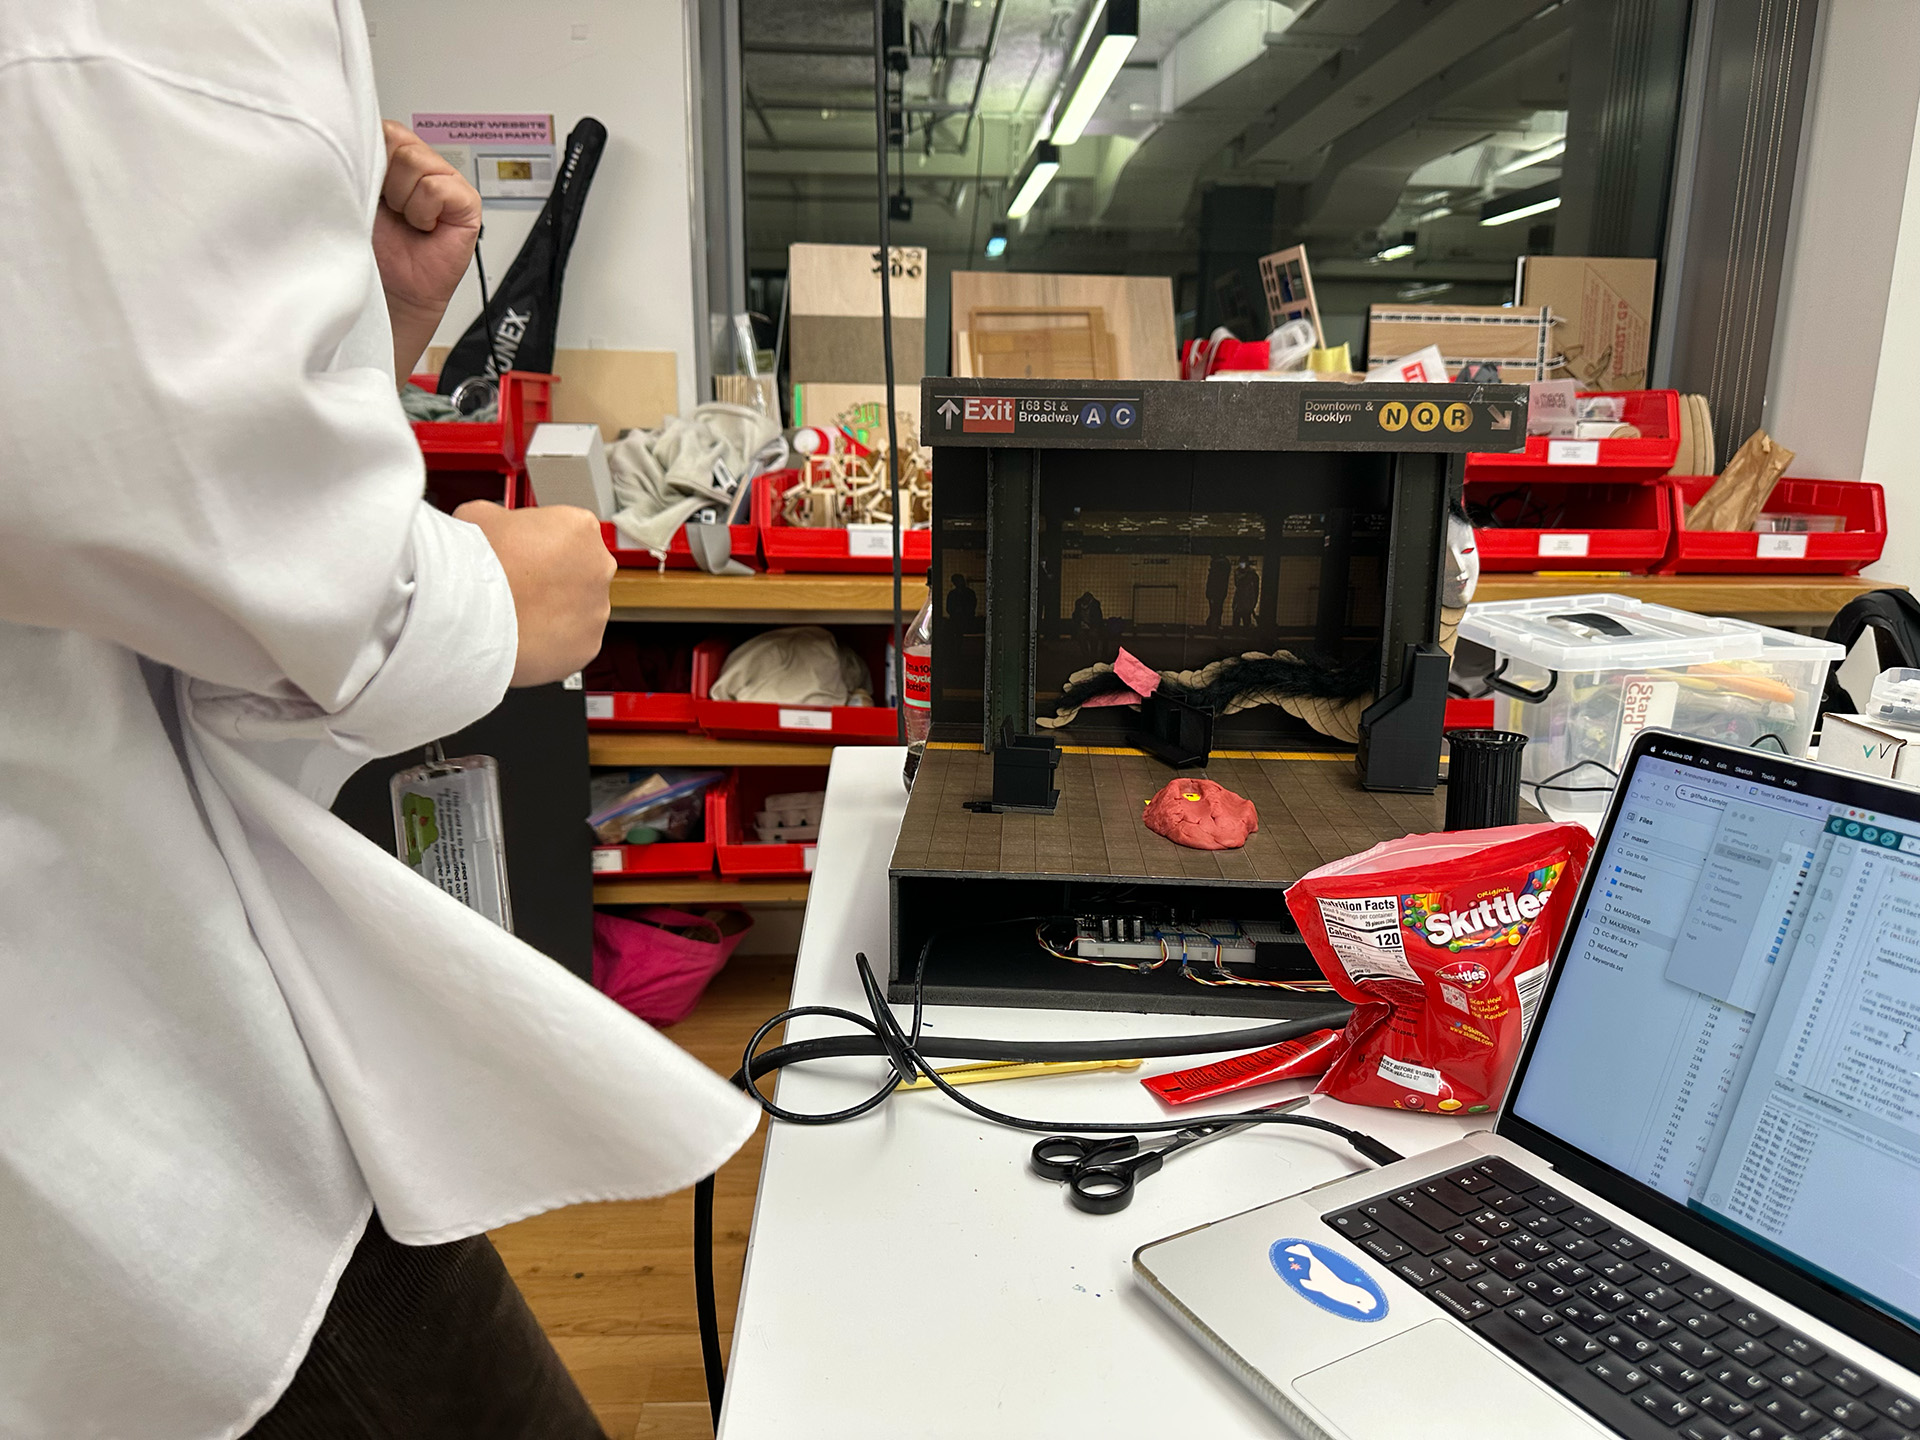
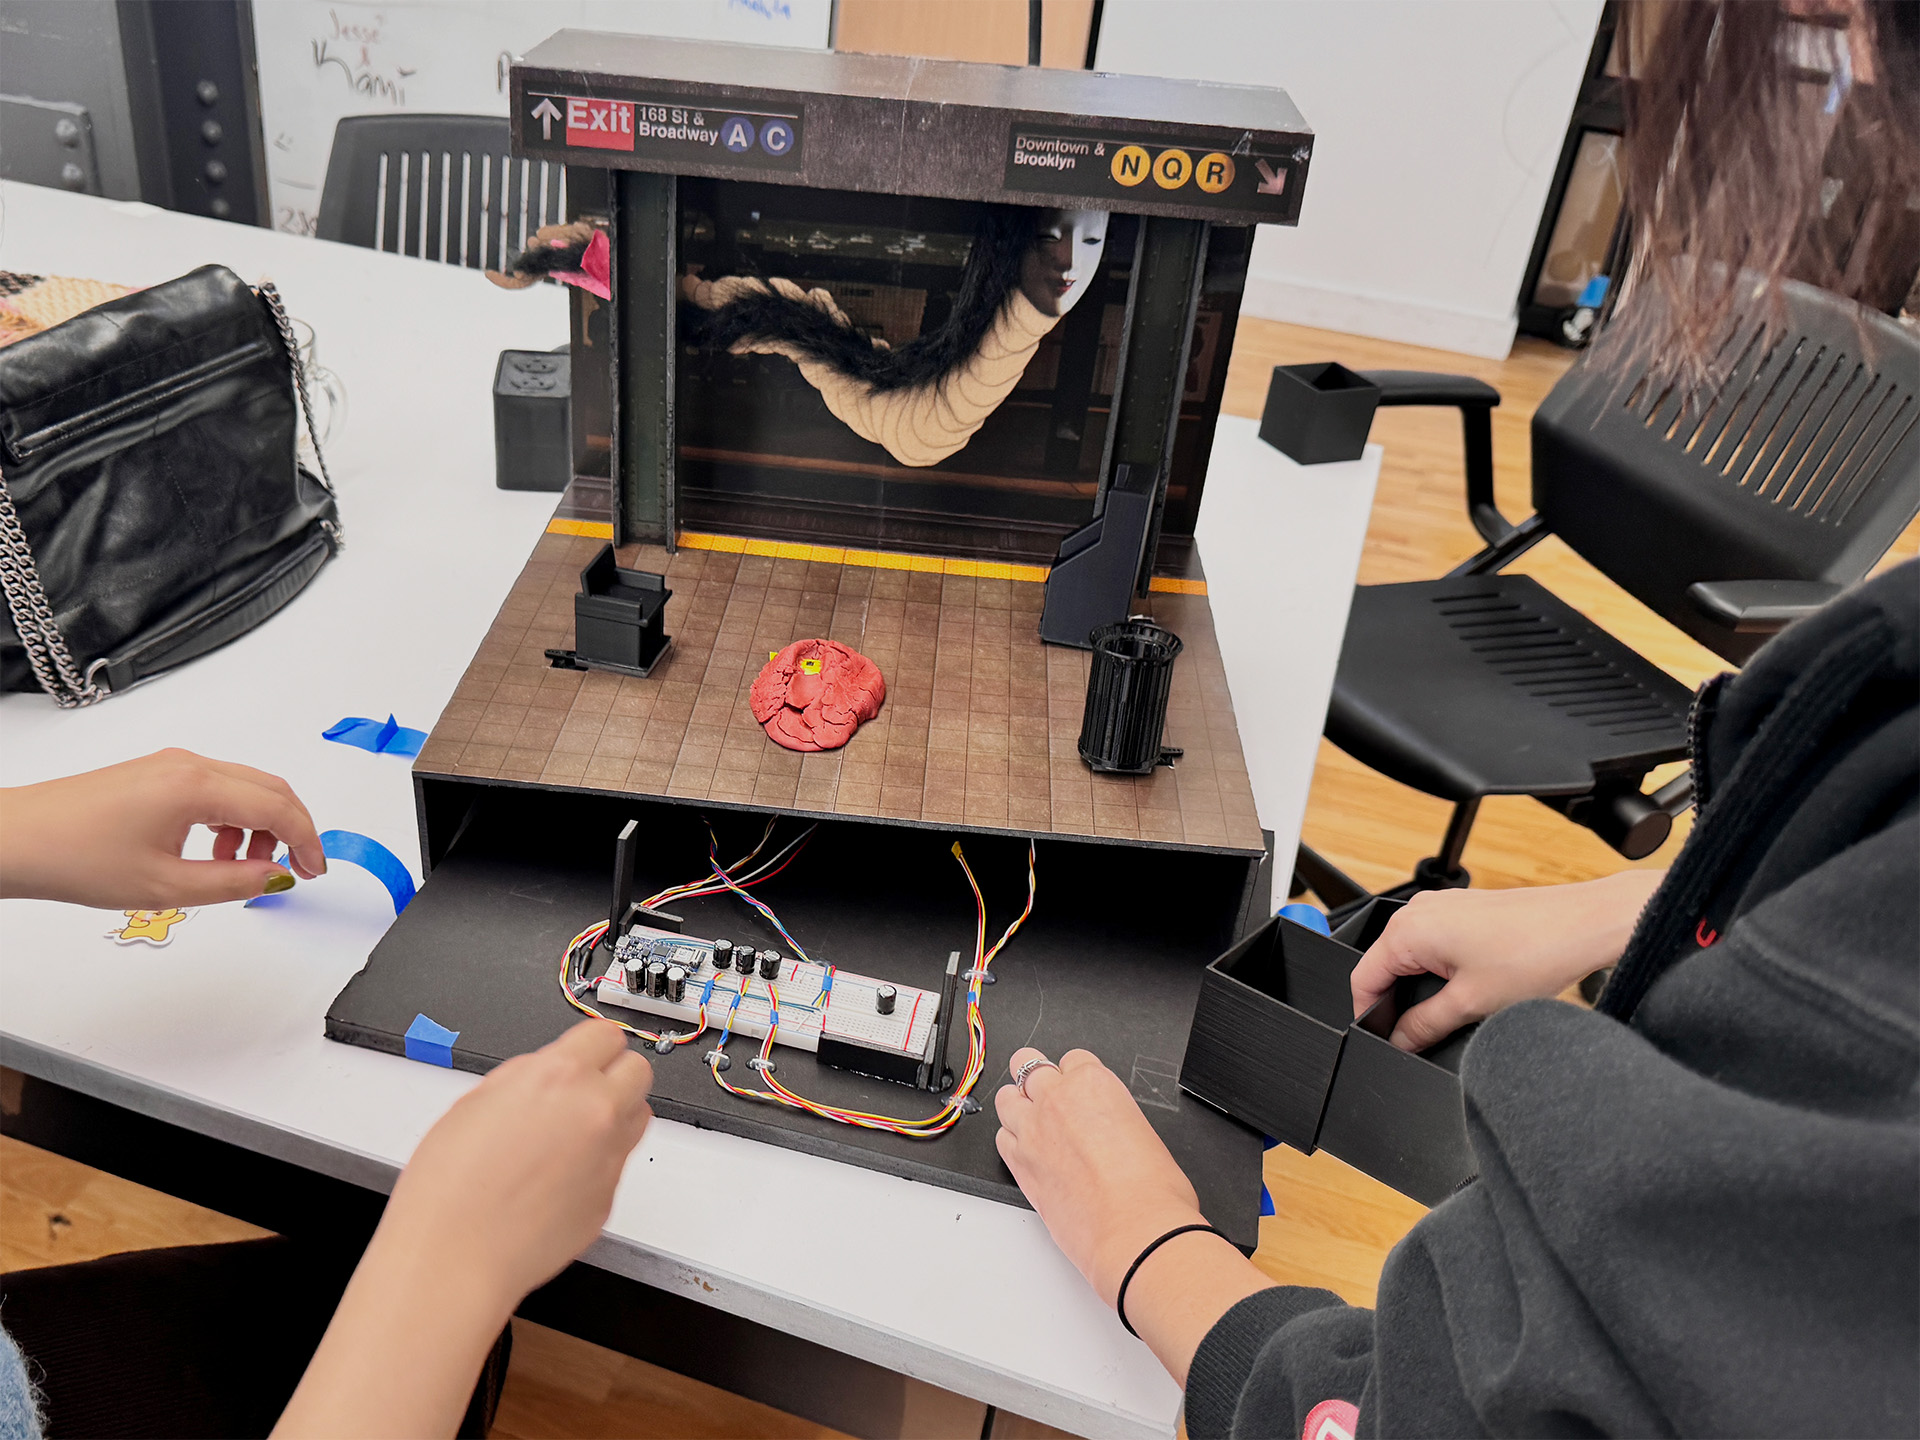
We decided to create a fear that gives people unpredictable elements by incorporating aspects of traditional Asian ghosts into the Western Halloween setting. As foreigners, the American subway is a dark, damp place that always makes us tense and scared. We placed typical elements of Asian horror, such as a virgin ghost, a snake, and talismans, in the subway setting, with a manually operated effect of the virgin ghost’s eyes moving. In the center, we placed an unknown object with a straw shoe texture, inside which we positioned a sensor to create an unsettling feeling for people.
Material Selection (Heart Rate Sensor, Servo Motors)
Halloween evokes images of children collecting candy and the phrase “trick or treat!” We wanted to share candy and fun with those viewing our Pcom project, considering how to incorporate Pcom elements. Simply measuring heart rate through a sensor and distributing candy seemed boring, so we decided to add a game-like element where doors automatically open and close based on the measured heart rate, encouraging people to control their heart rate. We chose to use three servo motors to classify heart rate levels into High, Mid, and Low, with corresponding rewards for each level.
Stage Sketch (Servo Motor Angles, Candy Baskets, Input)
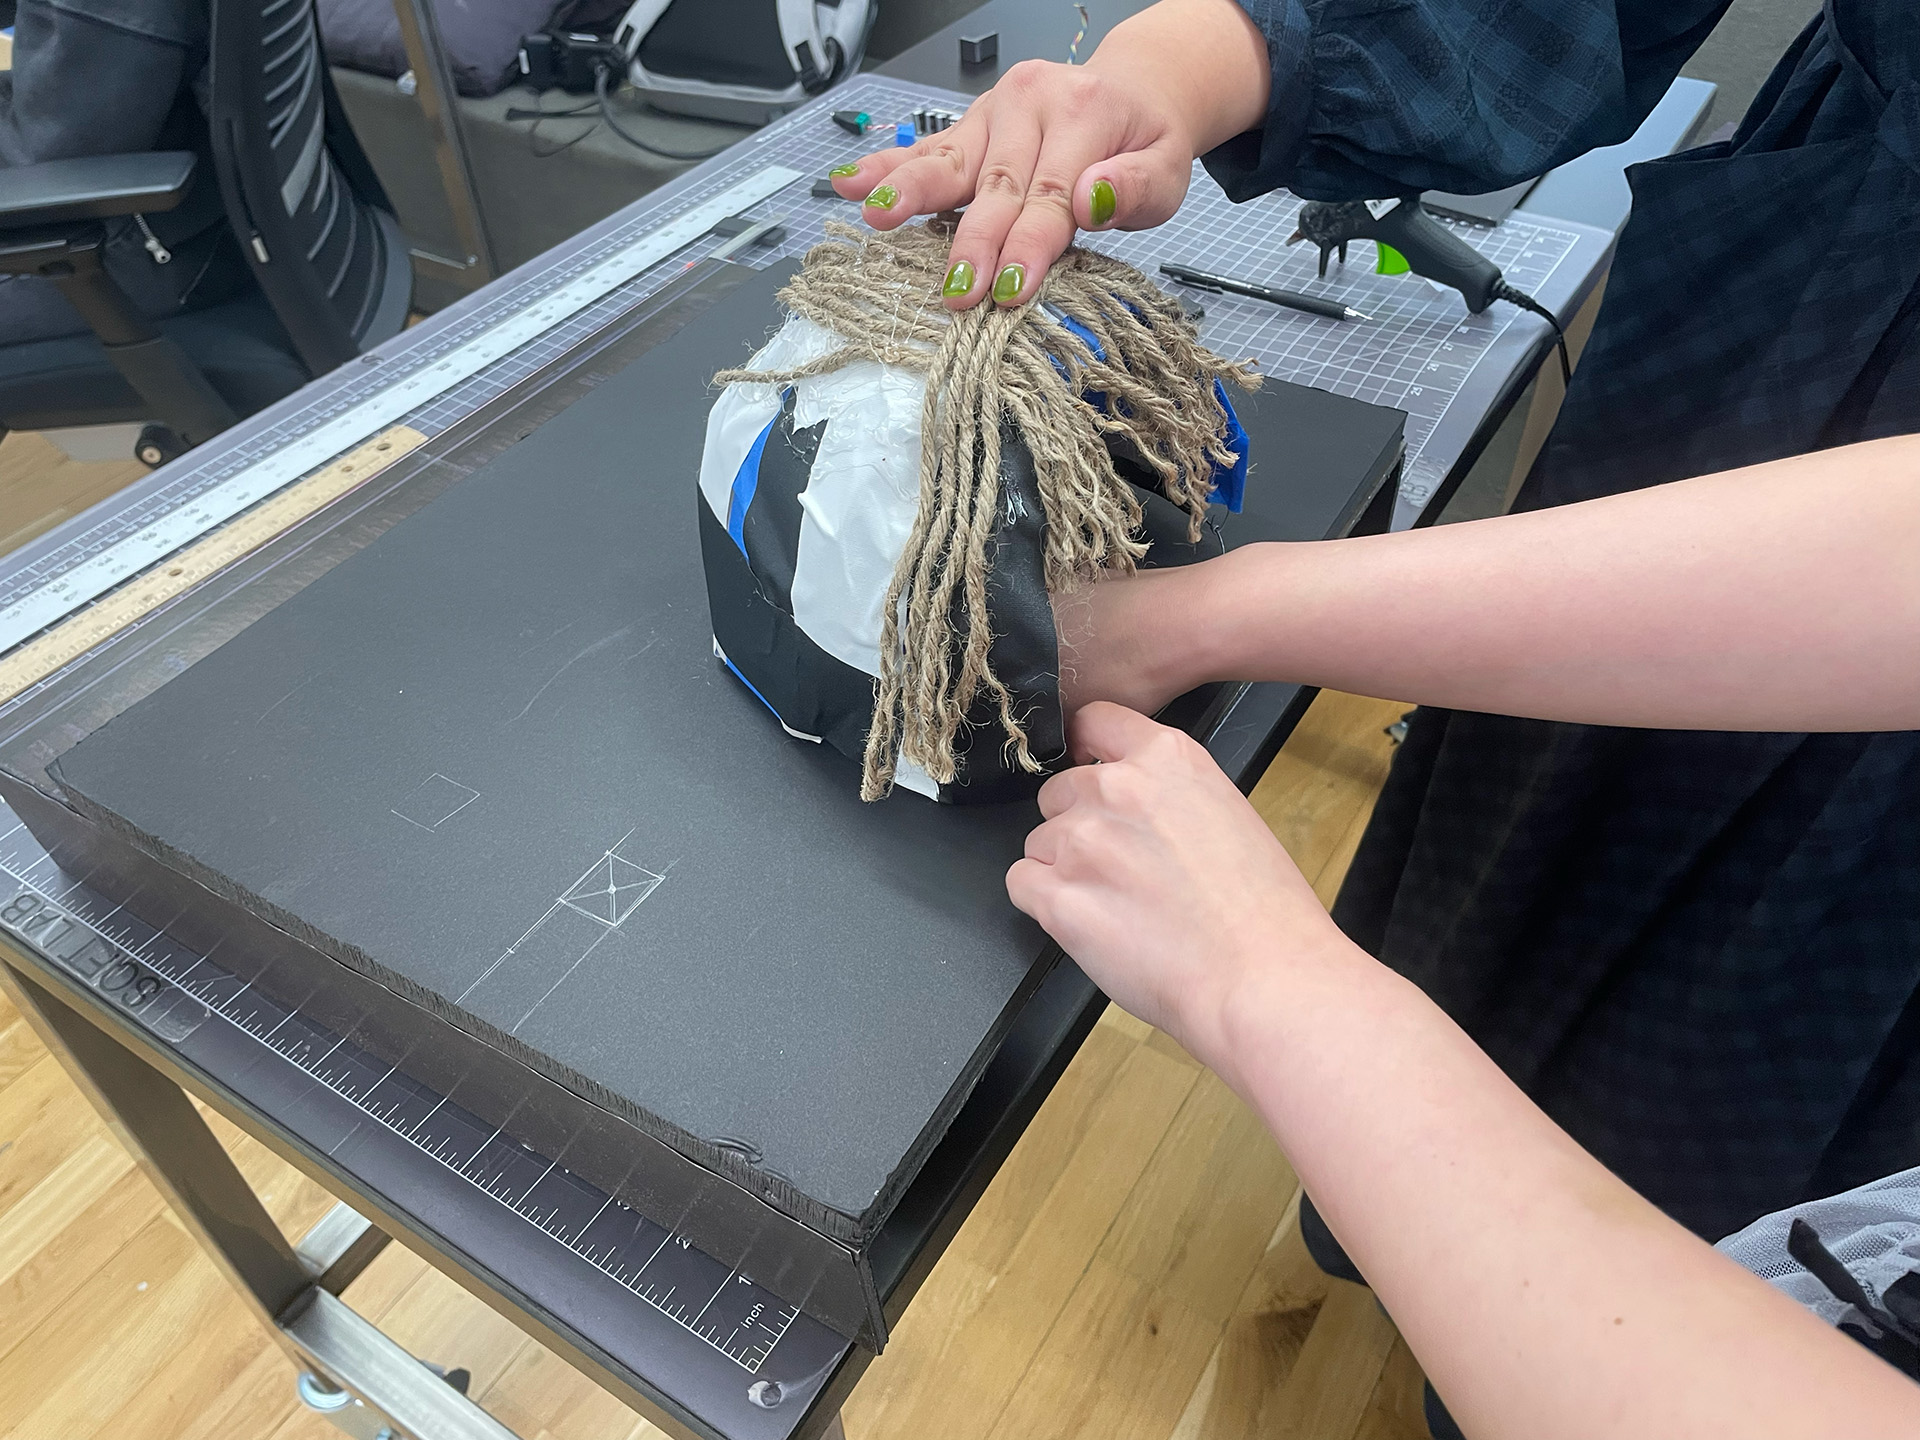
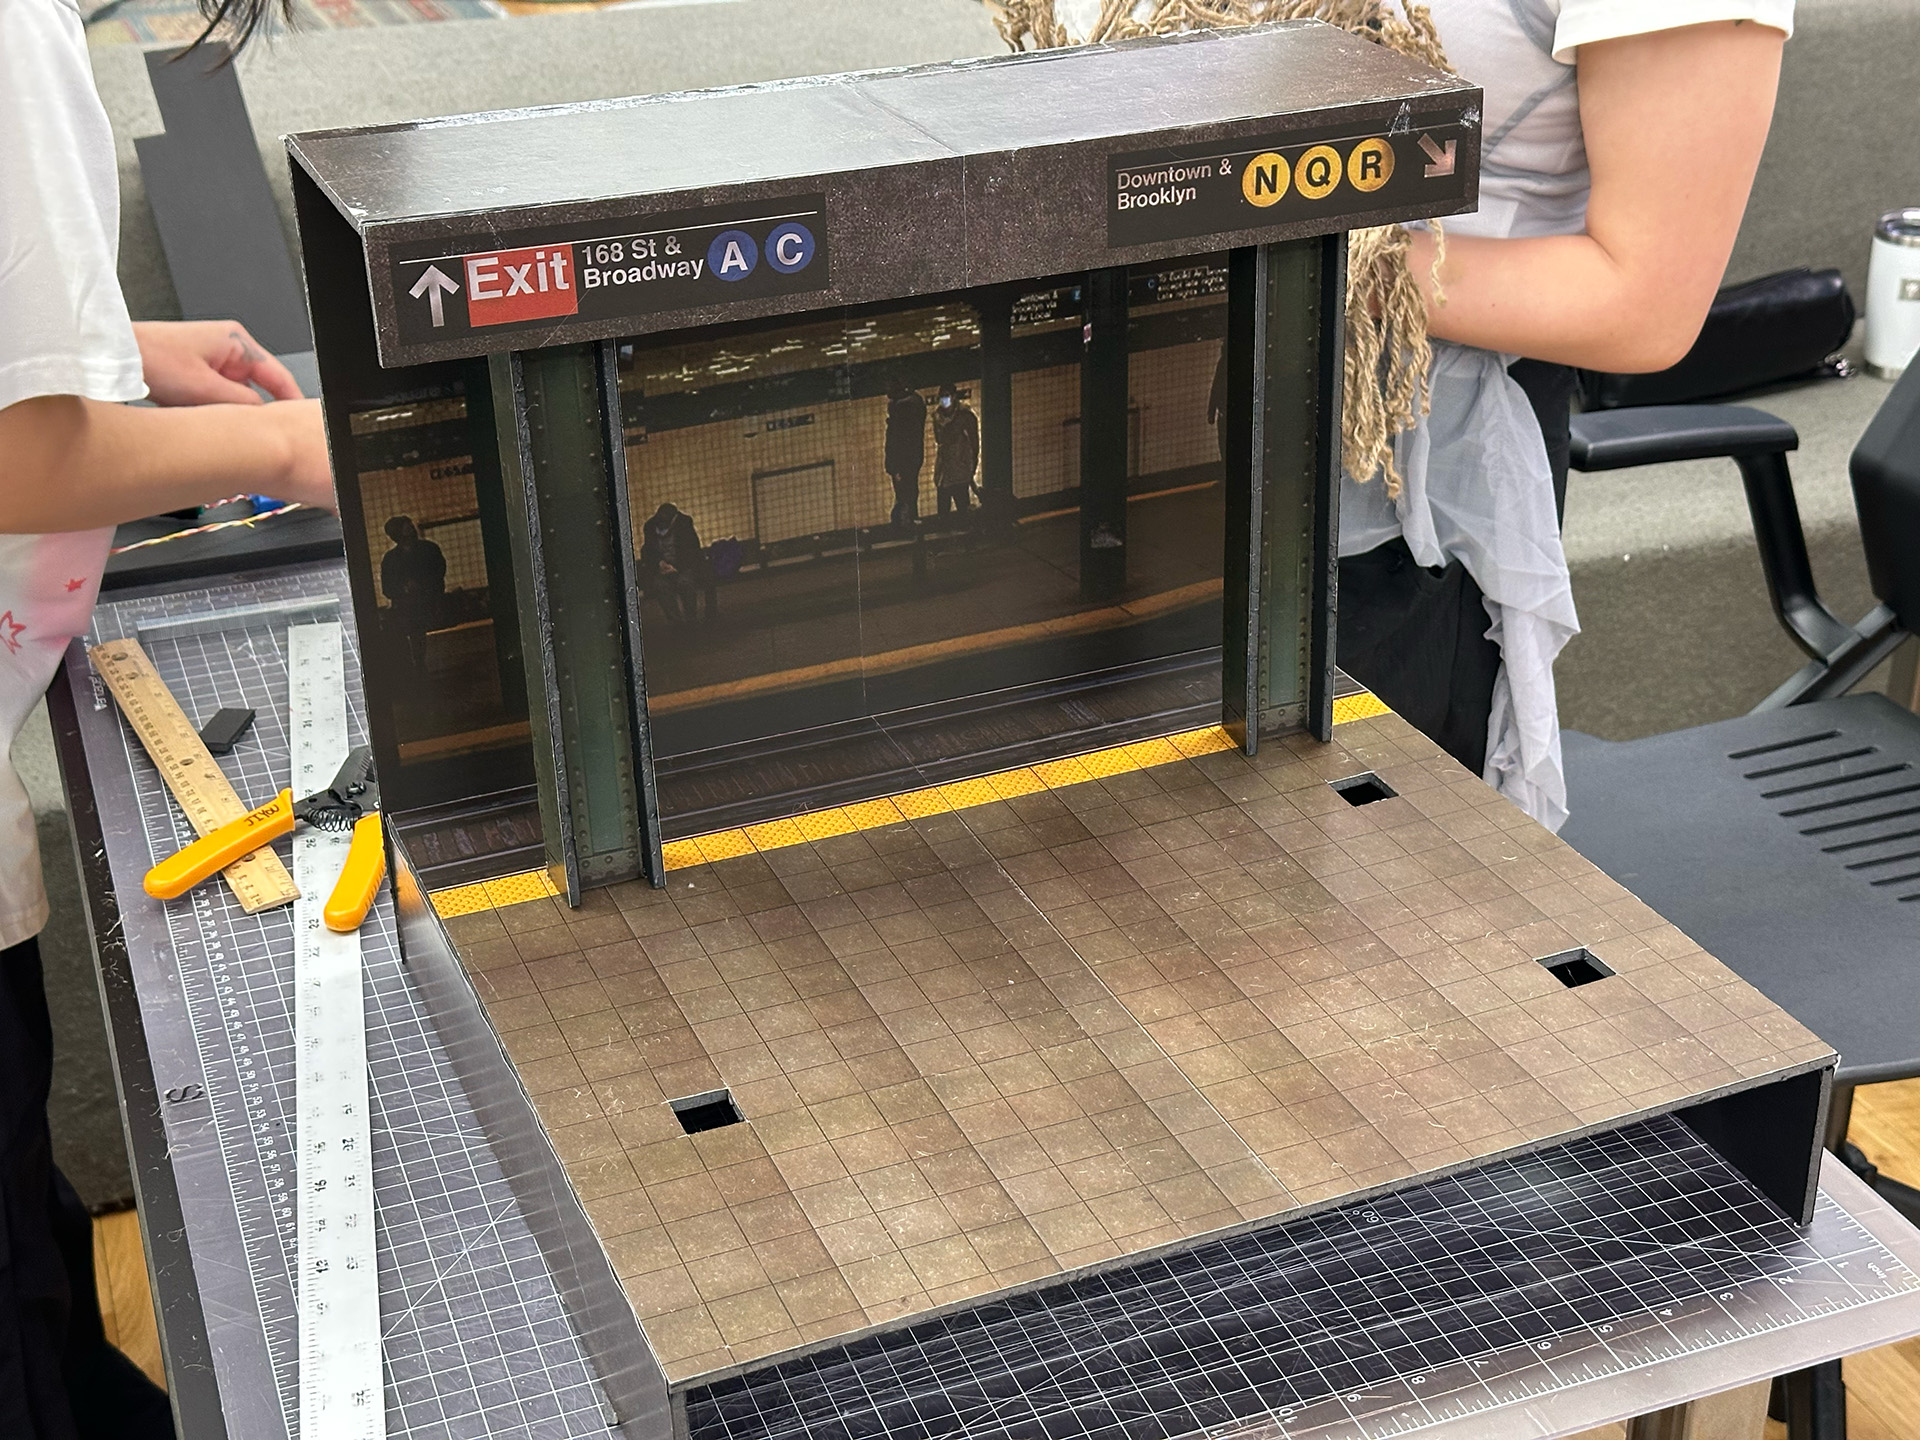
For the Halloween atmosphere, we designed a small subway-shaped stage with layered forms to provide an immersive experience for the subjects. To create a floating ghost effect, we hung elements from the ceiling and attached a separate device to move only the eyes.
Functionally, the most important considerations were:
Hiding places for servo motors and breadboards → Positioning for the subject’s hands → Sensor location → Candy dispensing area
Fabricating Process:


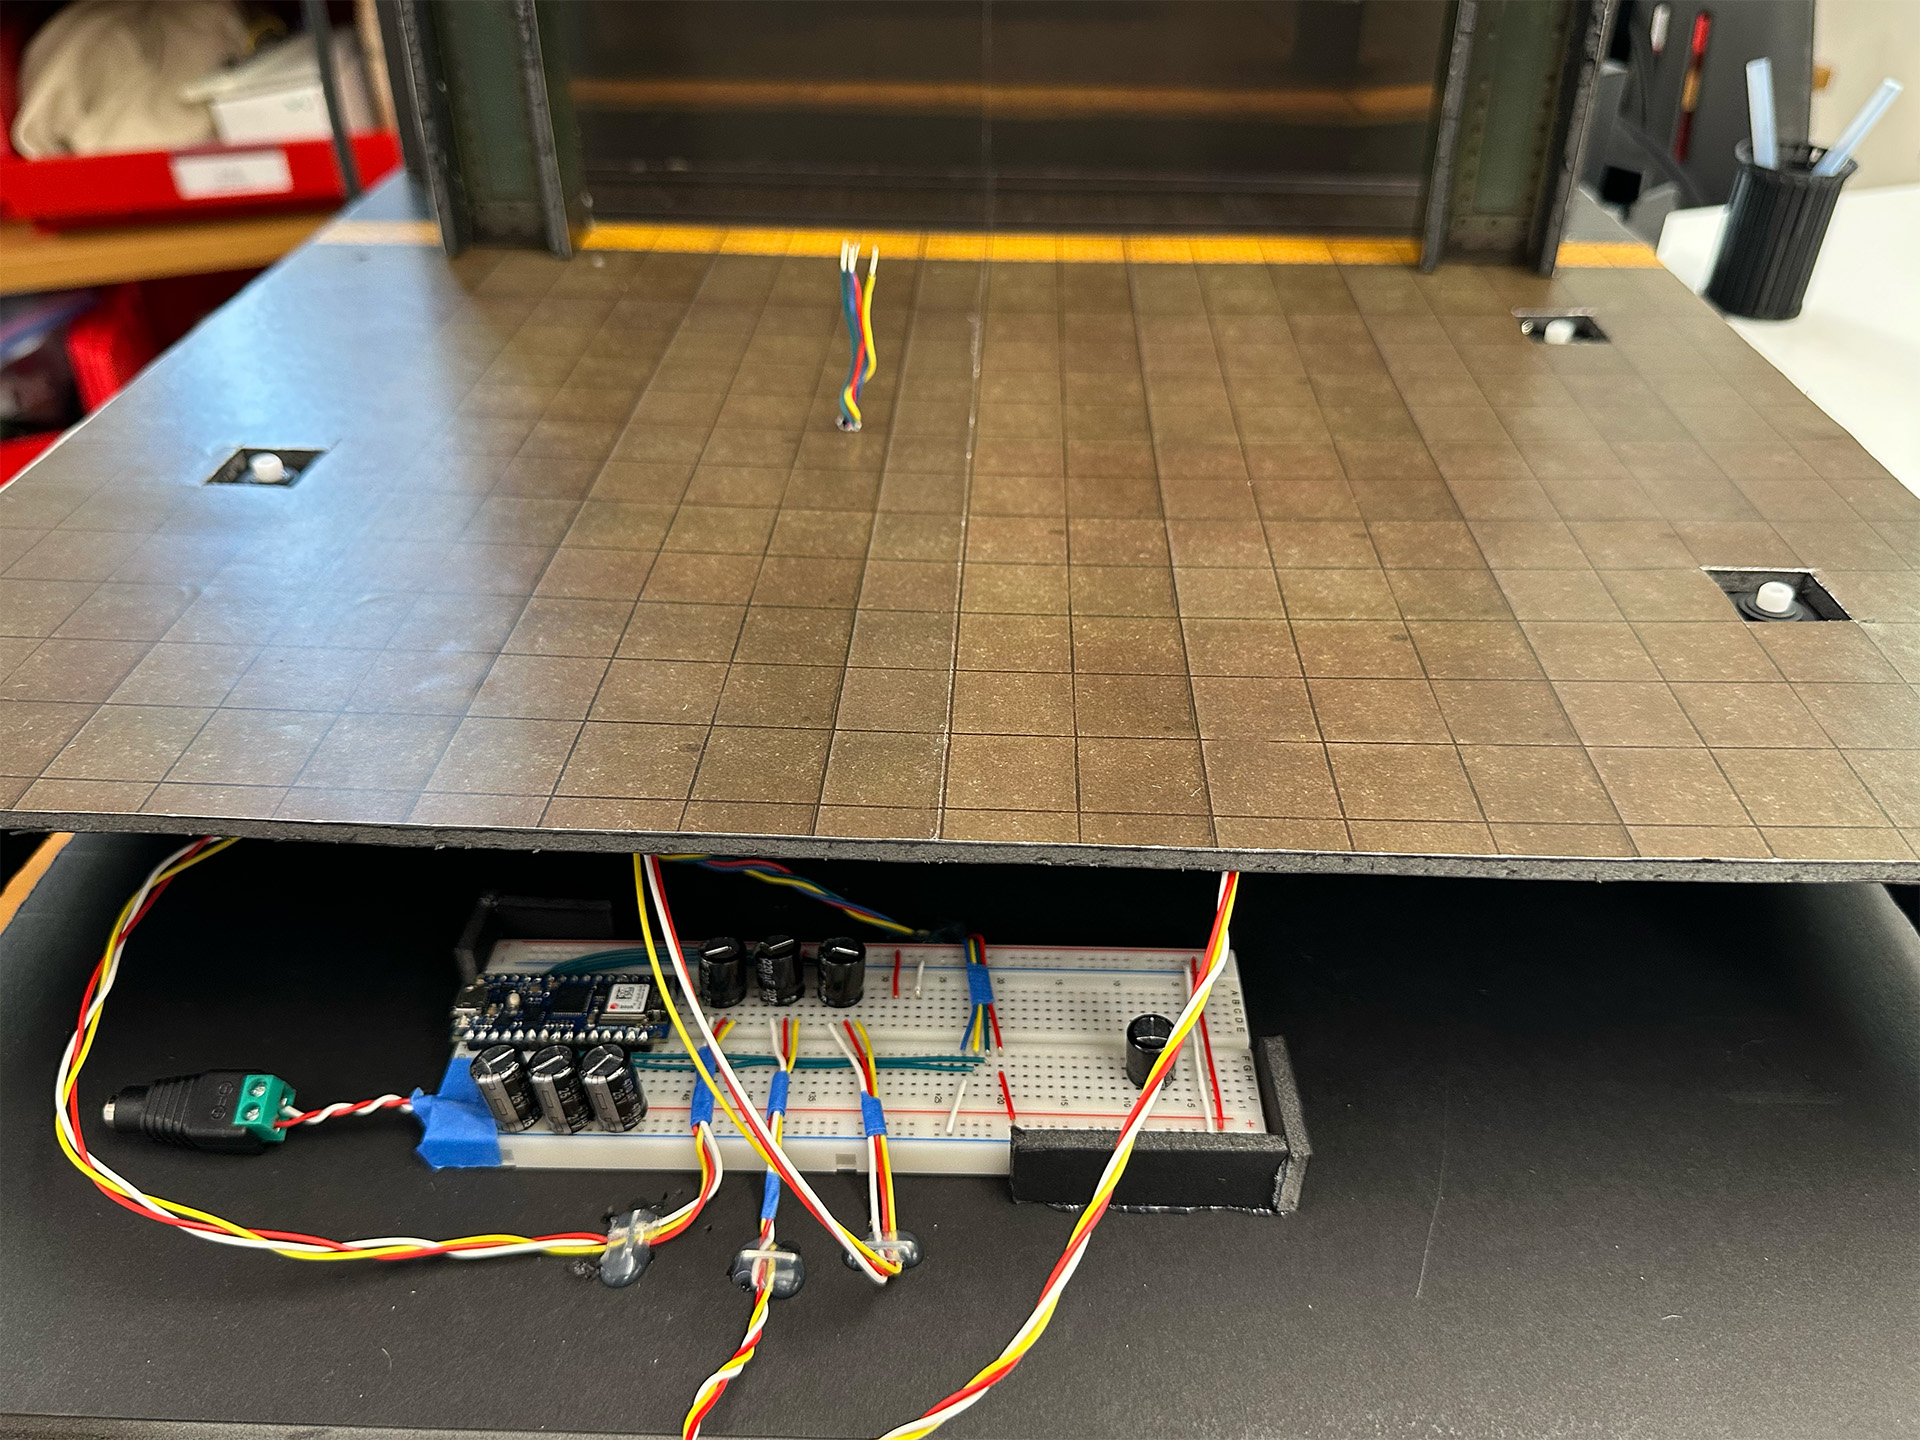
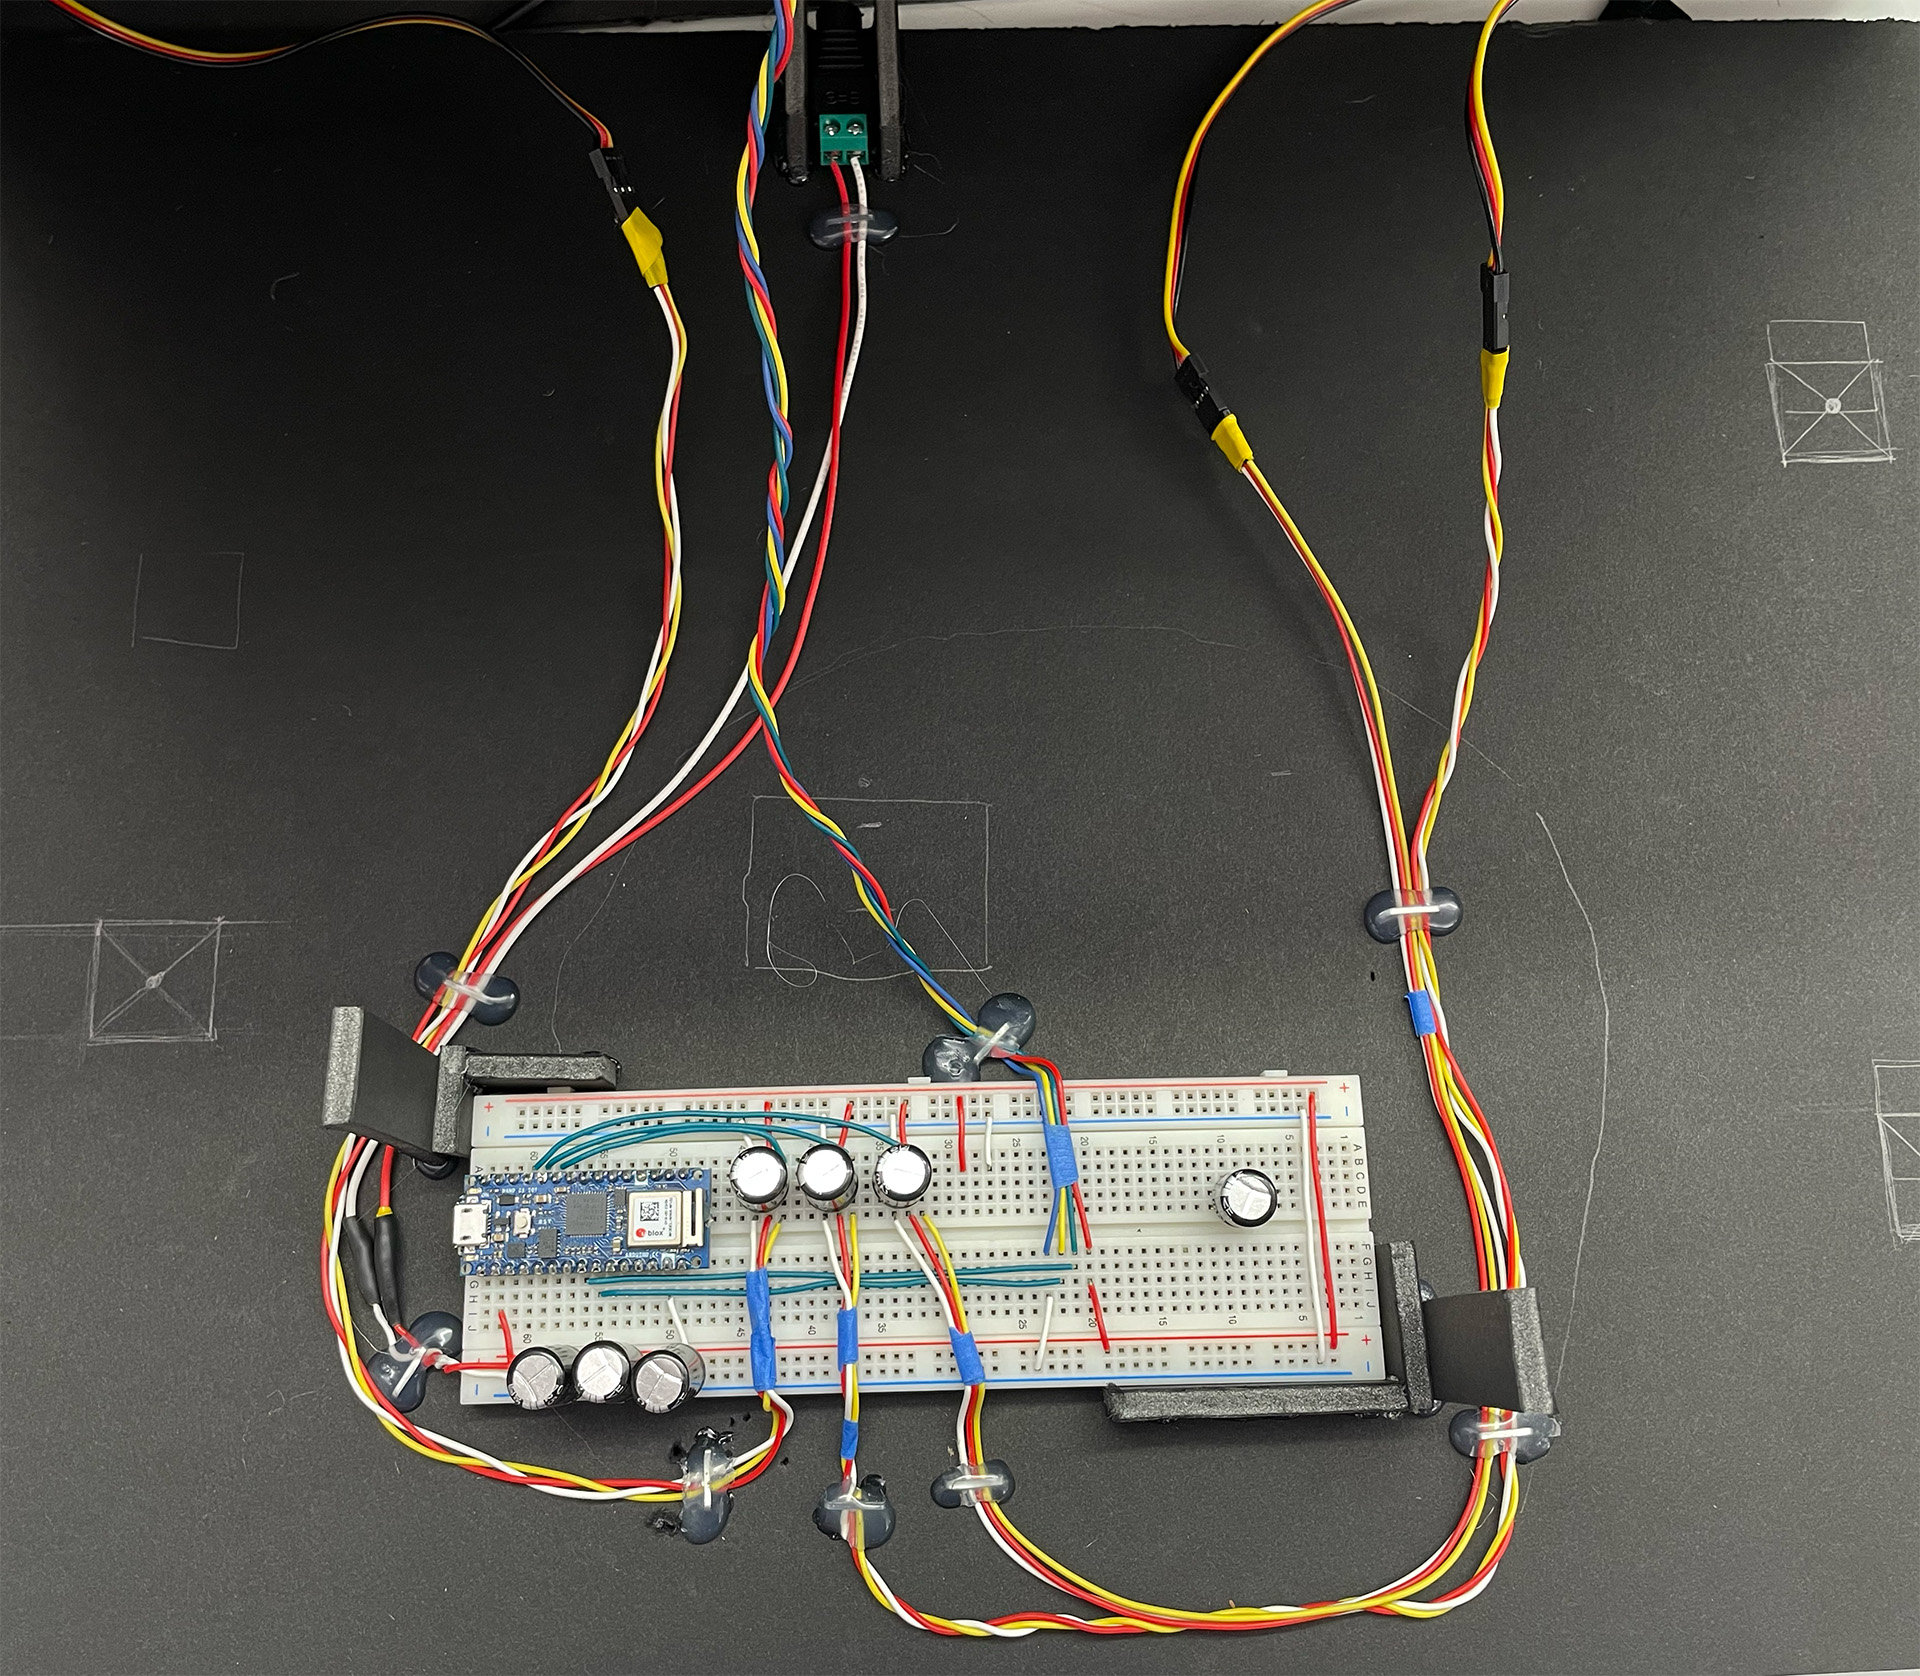
Installing the Circuit on the Set
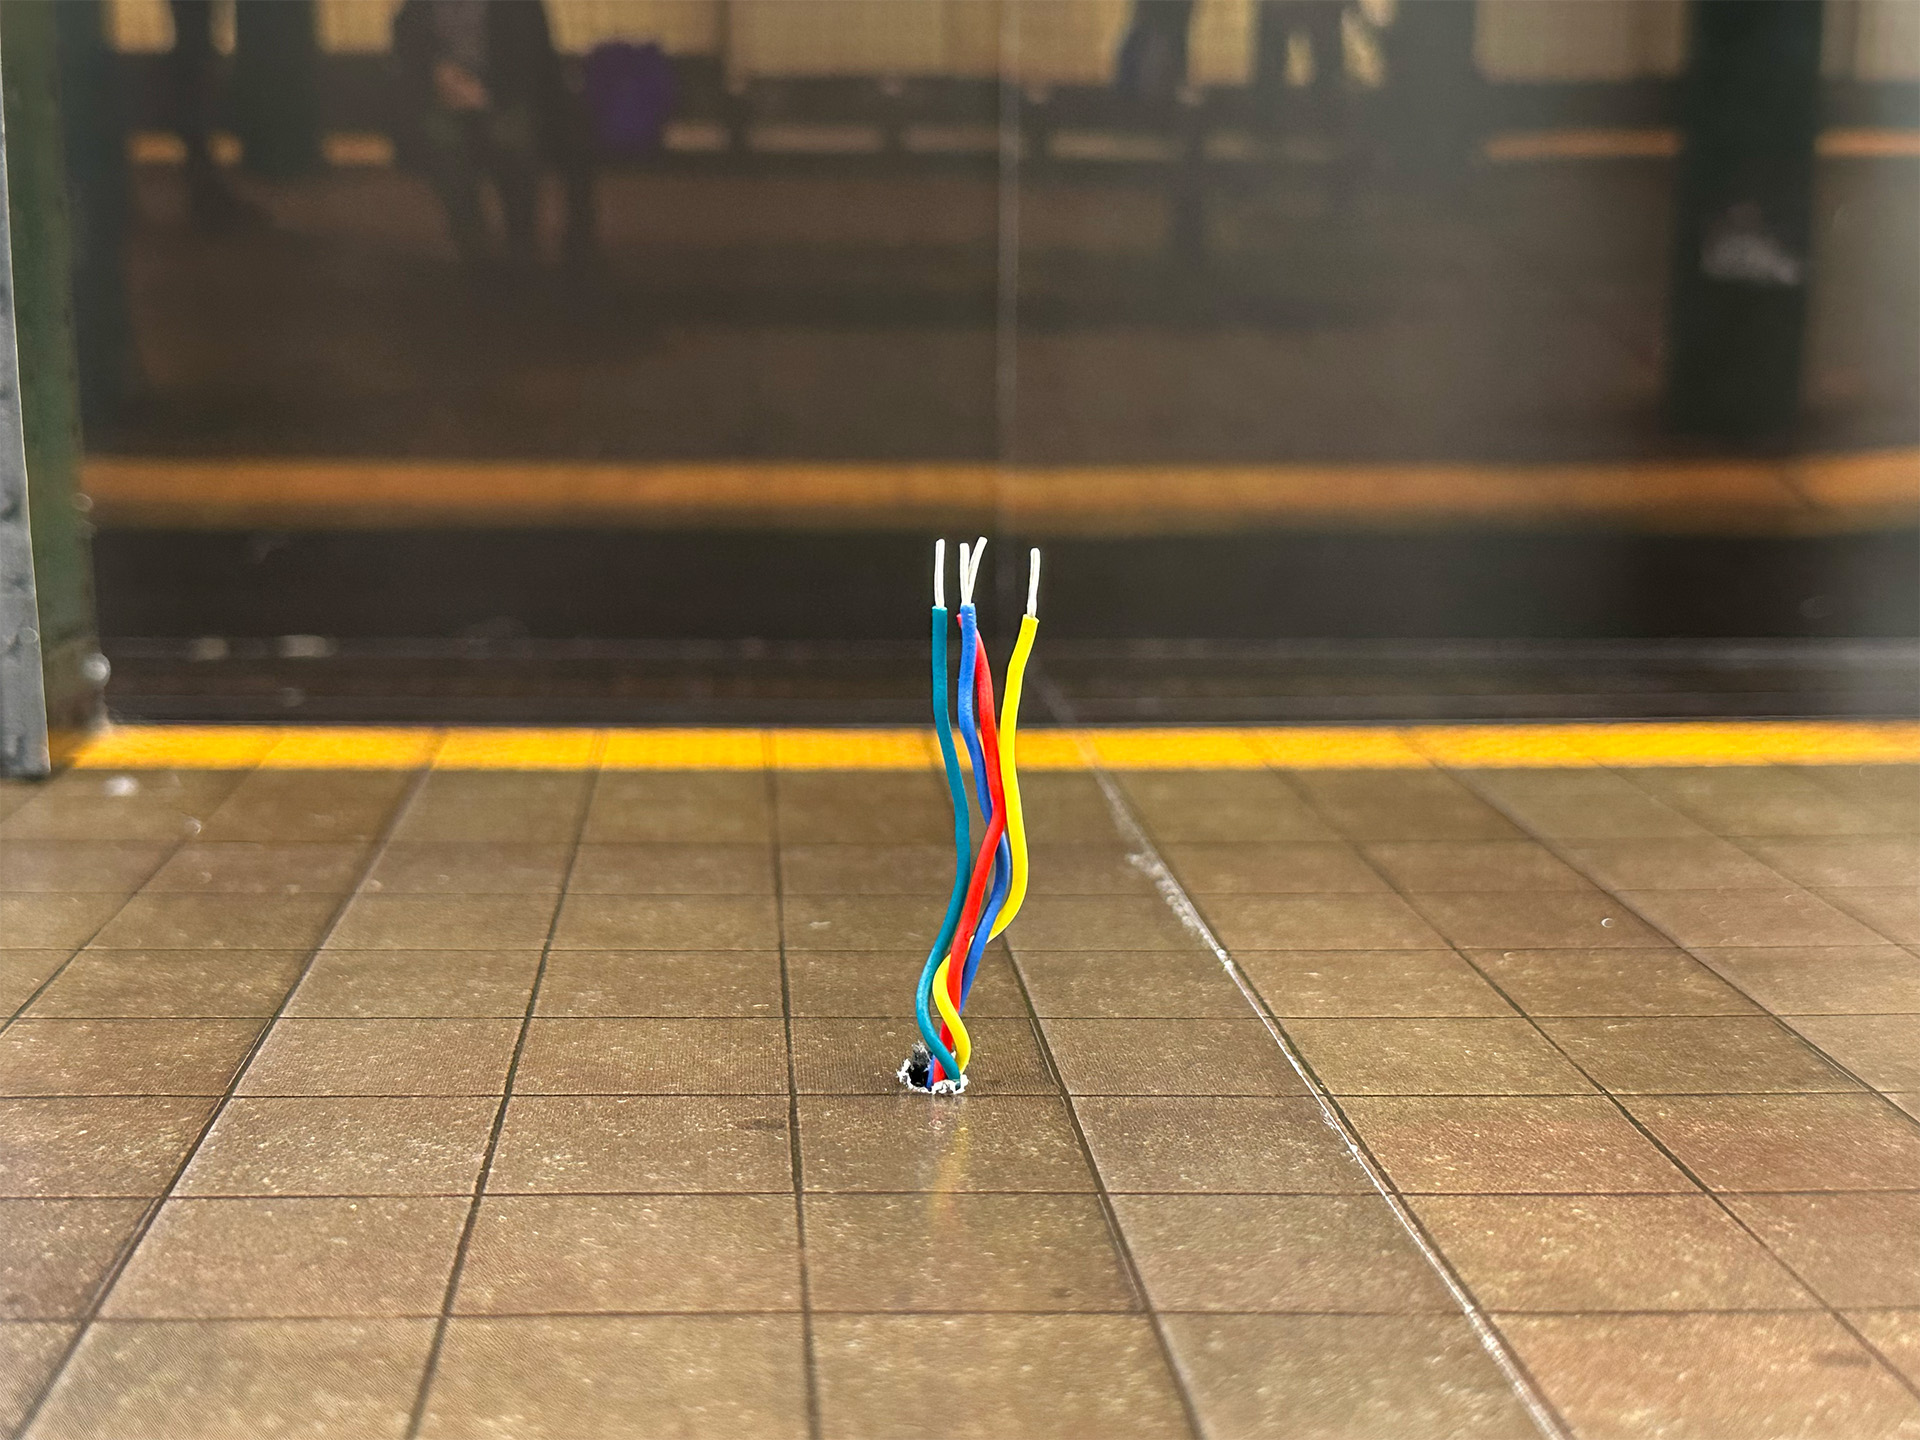
After creating the circuit, we attached it underneath the set.
The heartbeat sensor was placed on top of the set, and the servo motors were installed below.
After installation, we tested whether the servo motors worked properly in response to the sensor input.
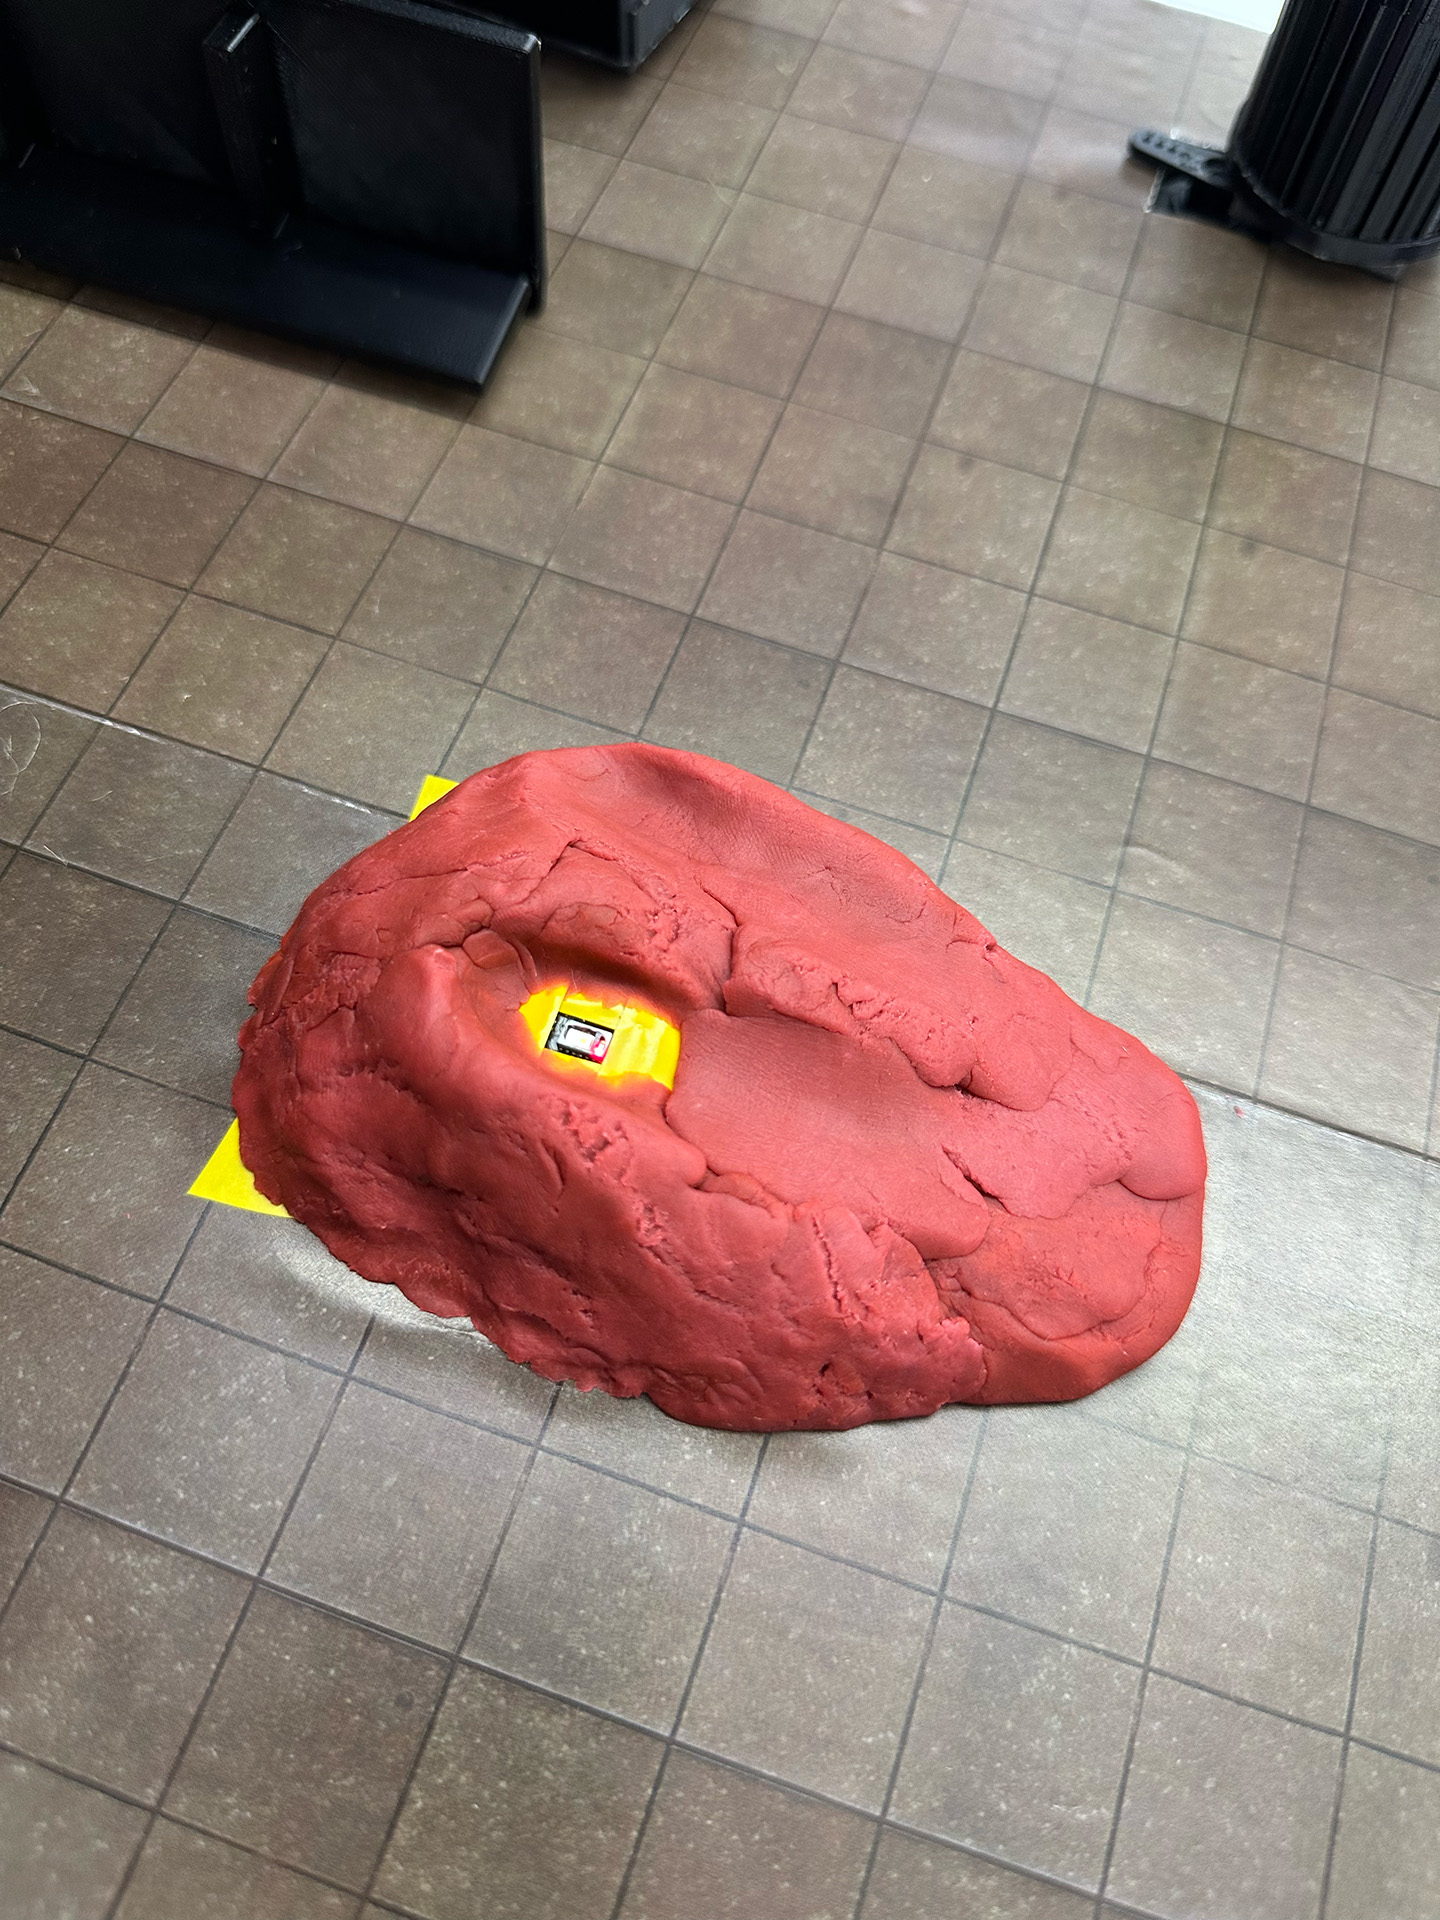
Attaching the Sensor & Making a Finger Placement Guide with Clay
We attached the heartbeat sensor to the top of the set.
Since people might have difficulty finding the exact sensor location when placing their hands inside the sensor house, we thought it would be helpful to make a guide.
Using clay, we molded a guide to help people place their fingers in the correct position.


Technical Process
Designing the interaction flow
Heart rate sensor(MAX30105) testing
Decoupling 3 Servo motor
Combine 3 servo motors as an output and a sensor as an input
Scaling the sensor range and adding State variables and functions for interaction
State variables: Stabilization period, Per-person quotas
User testing and adjusting input range of Low, Mid and High.
Constraints
Use the average value of the heart rate in the first 2 seconds after sensing the person’s heart rate.
Each person can have only one candy
Capacitor
Each servo motor: 220µF (decoupling x3)
Entire power supply line: around 1000~1200(470µF x3)
https://app.arduino.cc/sketches/521a936f-f60c-406b-97cb-316bb80b4f7e?view-mode=preview
#include <Wire.h>
#include "MAX30105.h"
#include <Servo.h>

MAX30105 particleSensor;

Servo servo1;
Servo servo2;
Servo servo3;

unsigned long startTime = 0; // Start time for stabilization period // 안정화 기간의 시작 시간
const unsigned long stabilizationPeriod = 2000; // 2 seconds for collecting data // 2초 동안 값 수집

bool collectingData = false; // Whether data collection is in progress // 데이터 수집 중인지 여부
long totalIrValue = 0; // Sum of IR values // IR 값의 합계
int numReadings = 0; // Number of readings taken // 읽은 값의 수

bool readyToSense = true; // Whether the system is ready to start new sensing // 새로운 센싱을 시작할 준비가 되었는지 여부
bool fingerPreviouslyDetected = false; // Whether a finger was detected in the previous loop // 이전 루프에서 손가락이 감지되었는지 여부

void setup()
{
  Serial.begin(115200);
  Serial.println("Initializing...");

  // Sensor initialization // 센서 초기화
  if (!particleSensor.begin(Wire, I2C_SPEED_FAST))
  {
    Serial.println("MAX30105 was not found. Please check wiring/power.");
    while (1);
  }
  Serial.println("Place your index finger on the sensor with steady pressure.");

  particleSensor.setup(); // Sensor default setup // 센서 기본 설정
  particleSensor.setPulseAmplitudeRed(0x0A); // Set red LED // 빨간 LED 설정
  particleSensor.setPulseAmplitudeGreen(0);  // Turn off green LED // 녹색 LED 끄기

  // Servo motor initialization // 서보 모터 초기화
  servo1.attach(9); // Connect servo motor 1 to pin 9 // 서보 모터 1 연결 (핀 9)
  servo2.attach(8); // Connect servo motor 2 to pin 8 // 서보 모터 2 연결 (핀 8)
  servo3.attach(7); // Connect servo motor 3 to pin 7 // 서보 모터 3 연결 (핀 7)

  // Set initial position of servo motors // 서보 모터 초기 위치 설정
  servo1.write(90);
  servo2.write(90);
  servo3.write(90);
}

void loop()
{
  long irValue = particleSensor.getIR();

  // Check if a finger is placed on the sensor // 손가락이 센서에 올려져 있는지 확인
  bool fingerDetected = irValue > 50000;

  // When a finger is newly detected and the system is ready for new sensing // 손가락이 새로 감지되었고, 새로운 센싱을 시작할 준비가 되었을 때
  if (fingerDetected && !fingerPreviouslyDetected && readyToSense)
  {
    collectingData = true;
    startTime = millis();
    totalIrValue = 0;
    numReadings = 0;
    Serial.println("Collecting data for 2 seconds...");
  }

  // During data collection // 데이터 수집 중일 때
  if (collectingData)
  {
    // Collect data for 2 seconds // 2초 동안 데이터 수집
    if (millis() - startTime <= stabilizationPeriod)
    {
      totalIrValue += irValue;
      numReadings++;
    }
    else
    {
      // Data collection complete, calculate the average value // 데이터 수집 완료, 평균 값 계산
      long averageIrValue = totalIrValue / numReadings;
      long scaledIrValue = averageIrValue / 1000;

      // Determine range // 범위 결정
      int range = 0; // 1: HIGH, 2: MID, 3: LOW

      if (scaledIrValue >= 80 && scaledIrValue <= 94)
        range = 3; // LOW
      else if (scaledIrValue >= 95 && scaledIrValue <= 110)
        range = 2; // MID
      else if (scaledIrValue > 110)
        range = 1; // HIGH

      // Operate the servo motor corresponding to the detected range // 해당 범위의 서보 모터 작동
      if (range != 0)
      {
        operateServo(range);
      }
      else
      {
        Serial.println("No valid range detected.");
      }

      // Update data collection status and readiness for new sensing // 데이터 수집 상태 및 센싱 준비 상태 업데이트
      collectingData = false;
      readyToSense = false; // Do not start new sensing until the finger is removed // 손가락이 떨어질 때까지 새로운 센싱을 시작하지 않음
    }
  }

  // Update sensing readiness when the finger is removed from the sensor // 손가락이 센서에서 떨어졌을 때 센싱 준비 상태를 갱신
  if (!fingerDetected && fingerPreviouslyDetected)
  {
    readyToSense = true; // Ready for new sensing as the finger has been removed // 손가락이 떨어졌으므로 새로운 센싱을 시작할 수 있음
    Serial.println("Finger removed. Ready for new sensing.");
  }

  // Update previous finger detection status // 이전 손가락 감지 상태 업데이트
  fingerPreviouslyDetected = fingerDetected;

  // Output for debugging // 디버깅을 위한 출력
  Serial.print("IR=");
  Serial.print(irValue / 1000);
  if (!fingerDetected)
    Serial.print(" No finger?");

  Serial.println();

  delay(100); // Short delay to prevent serial monitor spam // 시리얼 모니터 스팸 방지를 위한 짧은 딜레이
}

void operateServo(int range)
{
  switch (range)
  {
    case 1: // HIGH range // HIGH 범위
      Serial.println("HIGH range detected. Operating servo 1.");
      servo1.write(90);
      delay(1000);
      servo1.write(0);
      delay(3000);
      servo1.write(90);
      break;
    case 2: // MID range // MID 범위
      Serial.println("MID range detected. Operating servo 2.");
      servo2.write(90);
      delay(1000);
      servo2.write(0);
      delay(3000);
      servo2.write(90);
      break;
    case 3: // LOW range // LOW 범위
      Serial.println("LOW range detected. Operating servo 3.");
      servo3.write(90);
      delay(1000);
      servo3.write(180);
      delay(3000);
      servo3.write(90);
      break;
    default:
      // Do nothing if no valid range is detected // 범위에 해당하지 않는 경우 아무 것도 하지 않음
      break;
  }
}
Troubleshooting:
Unexpected conductivity of Playdough
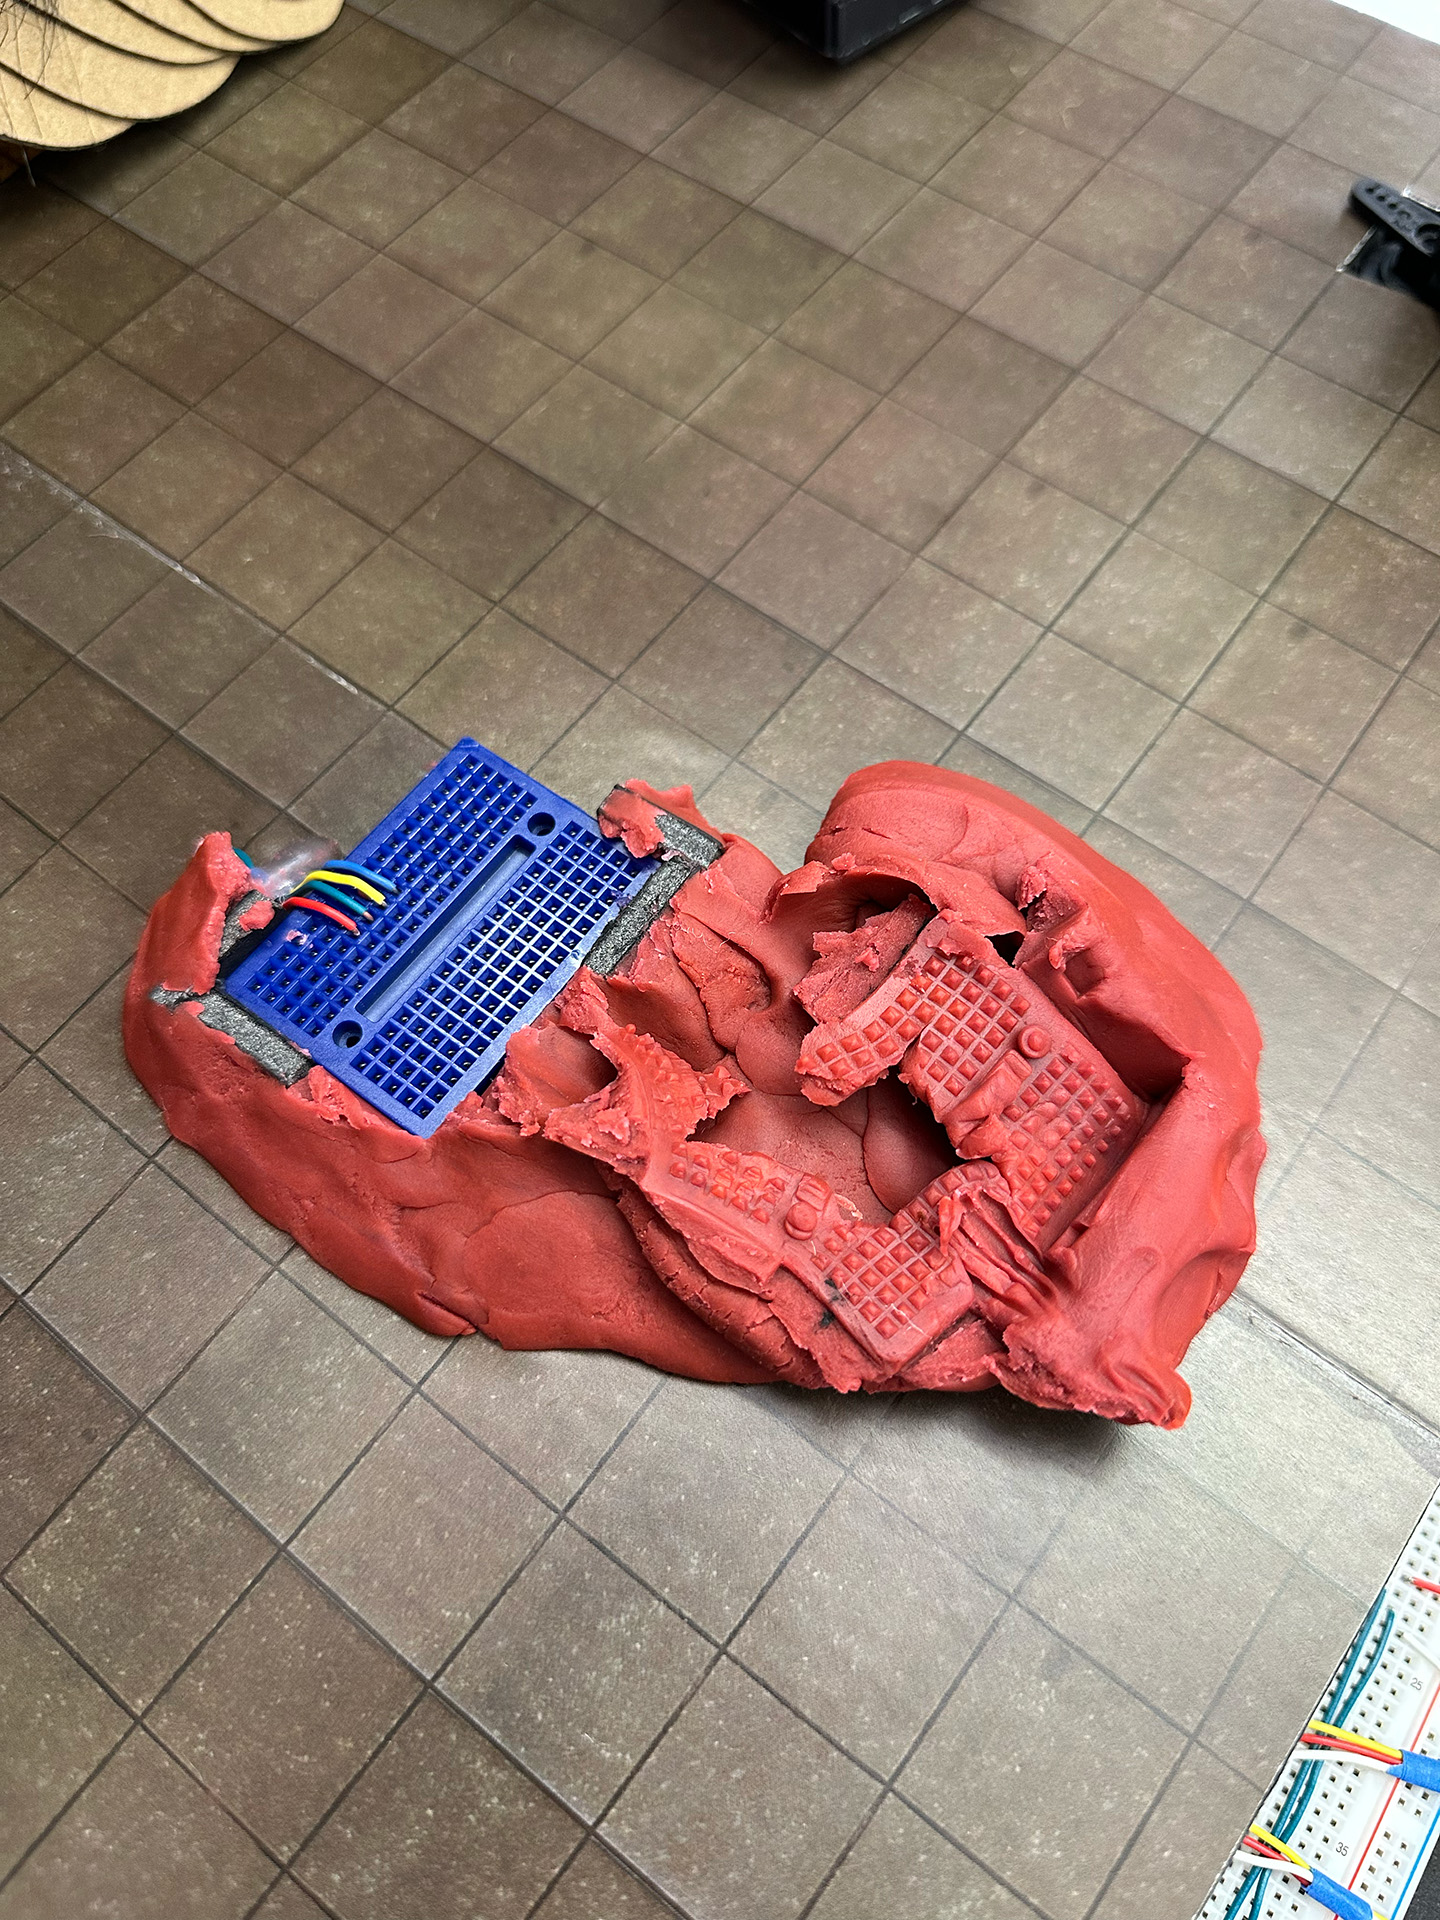
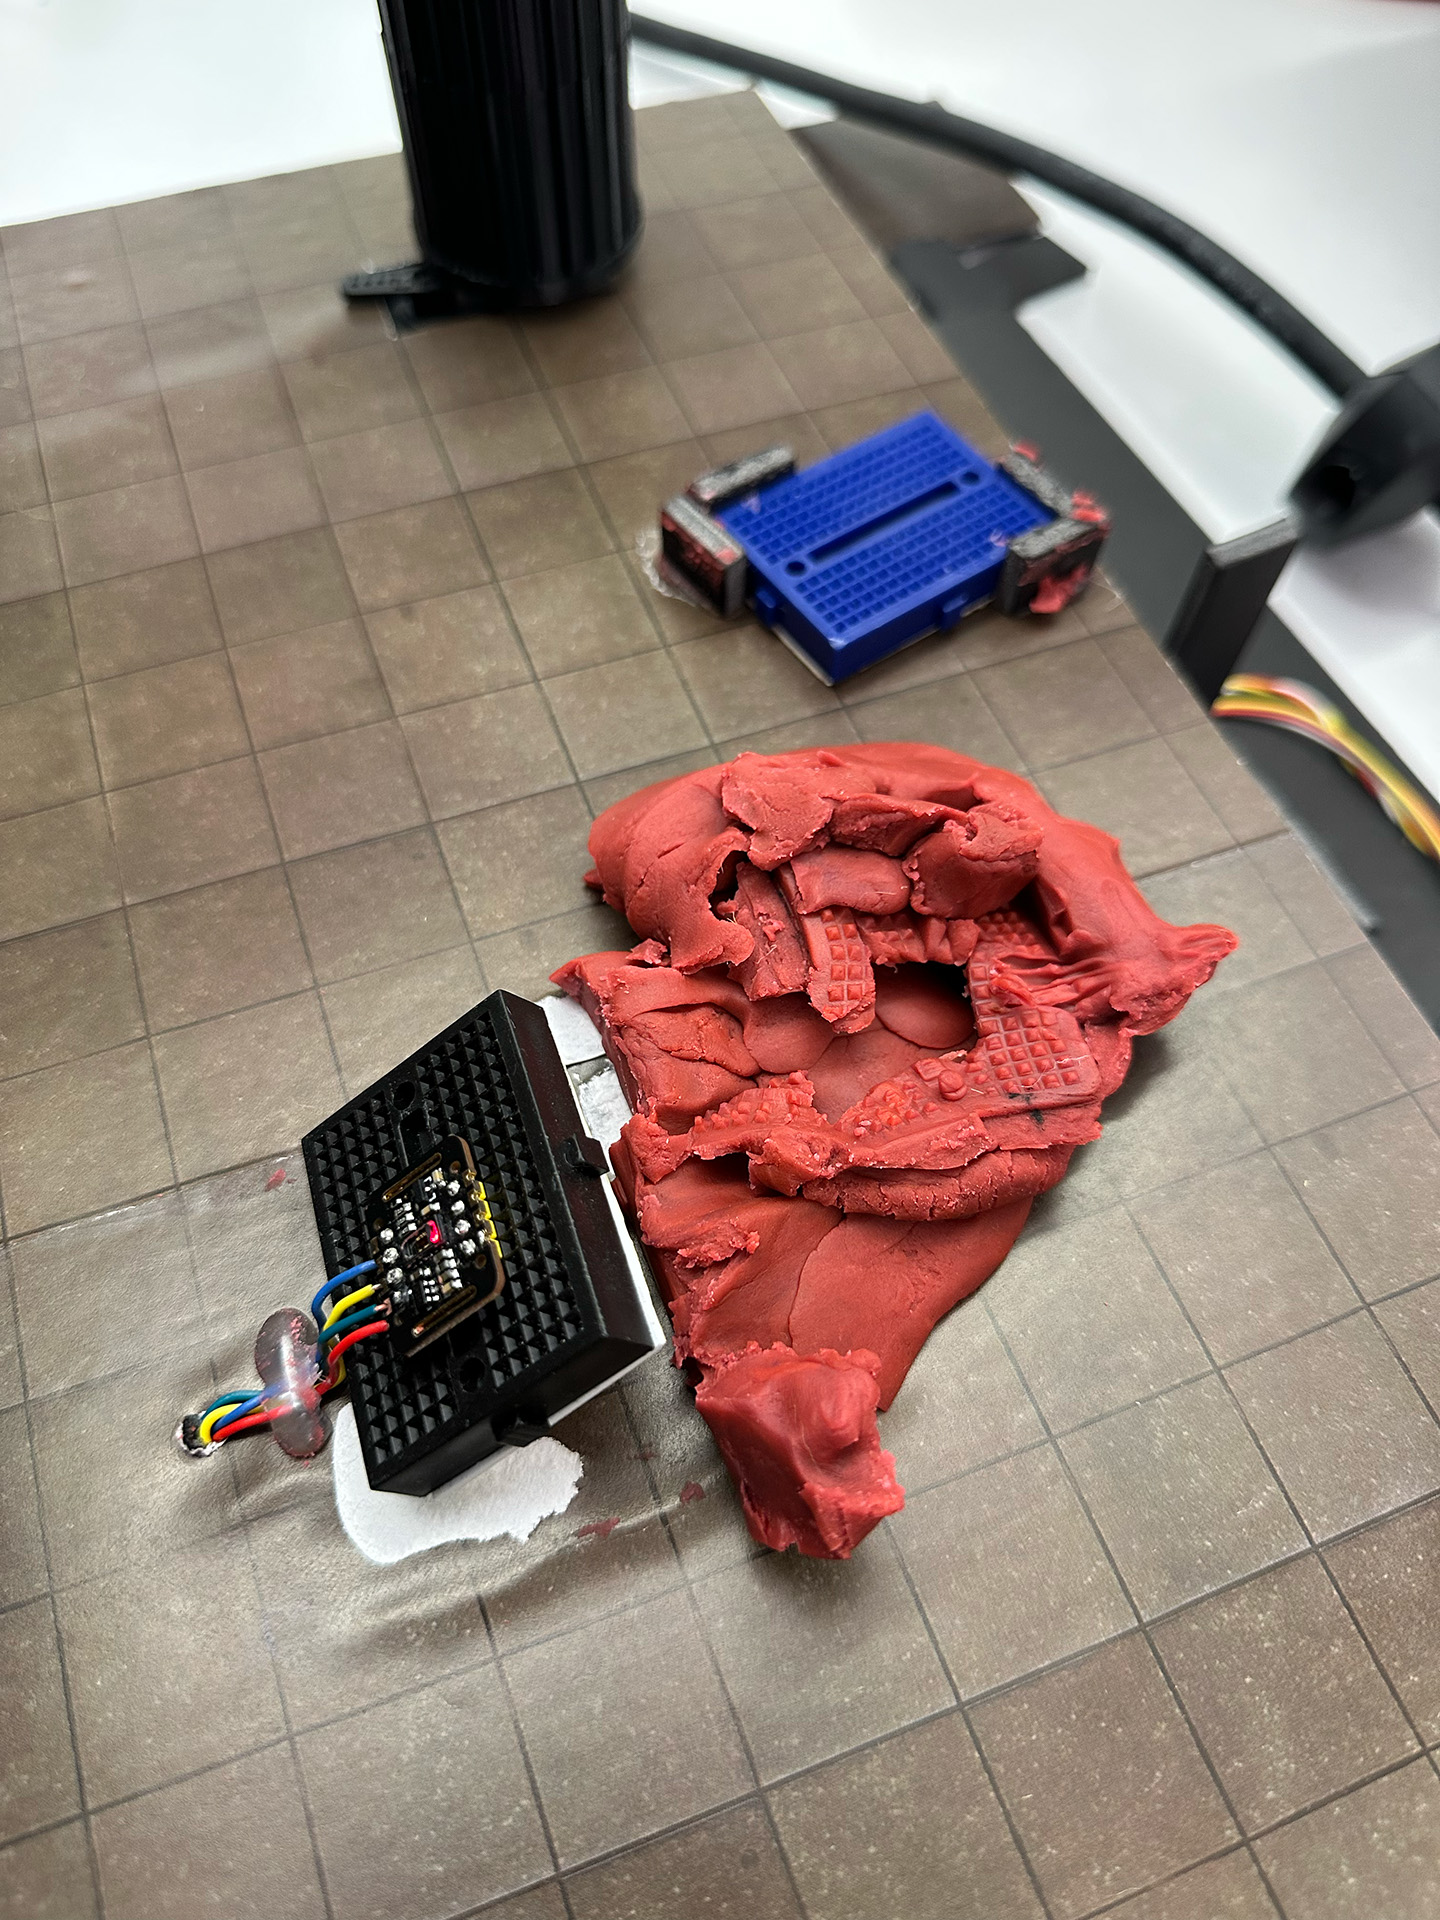
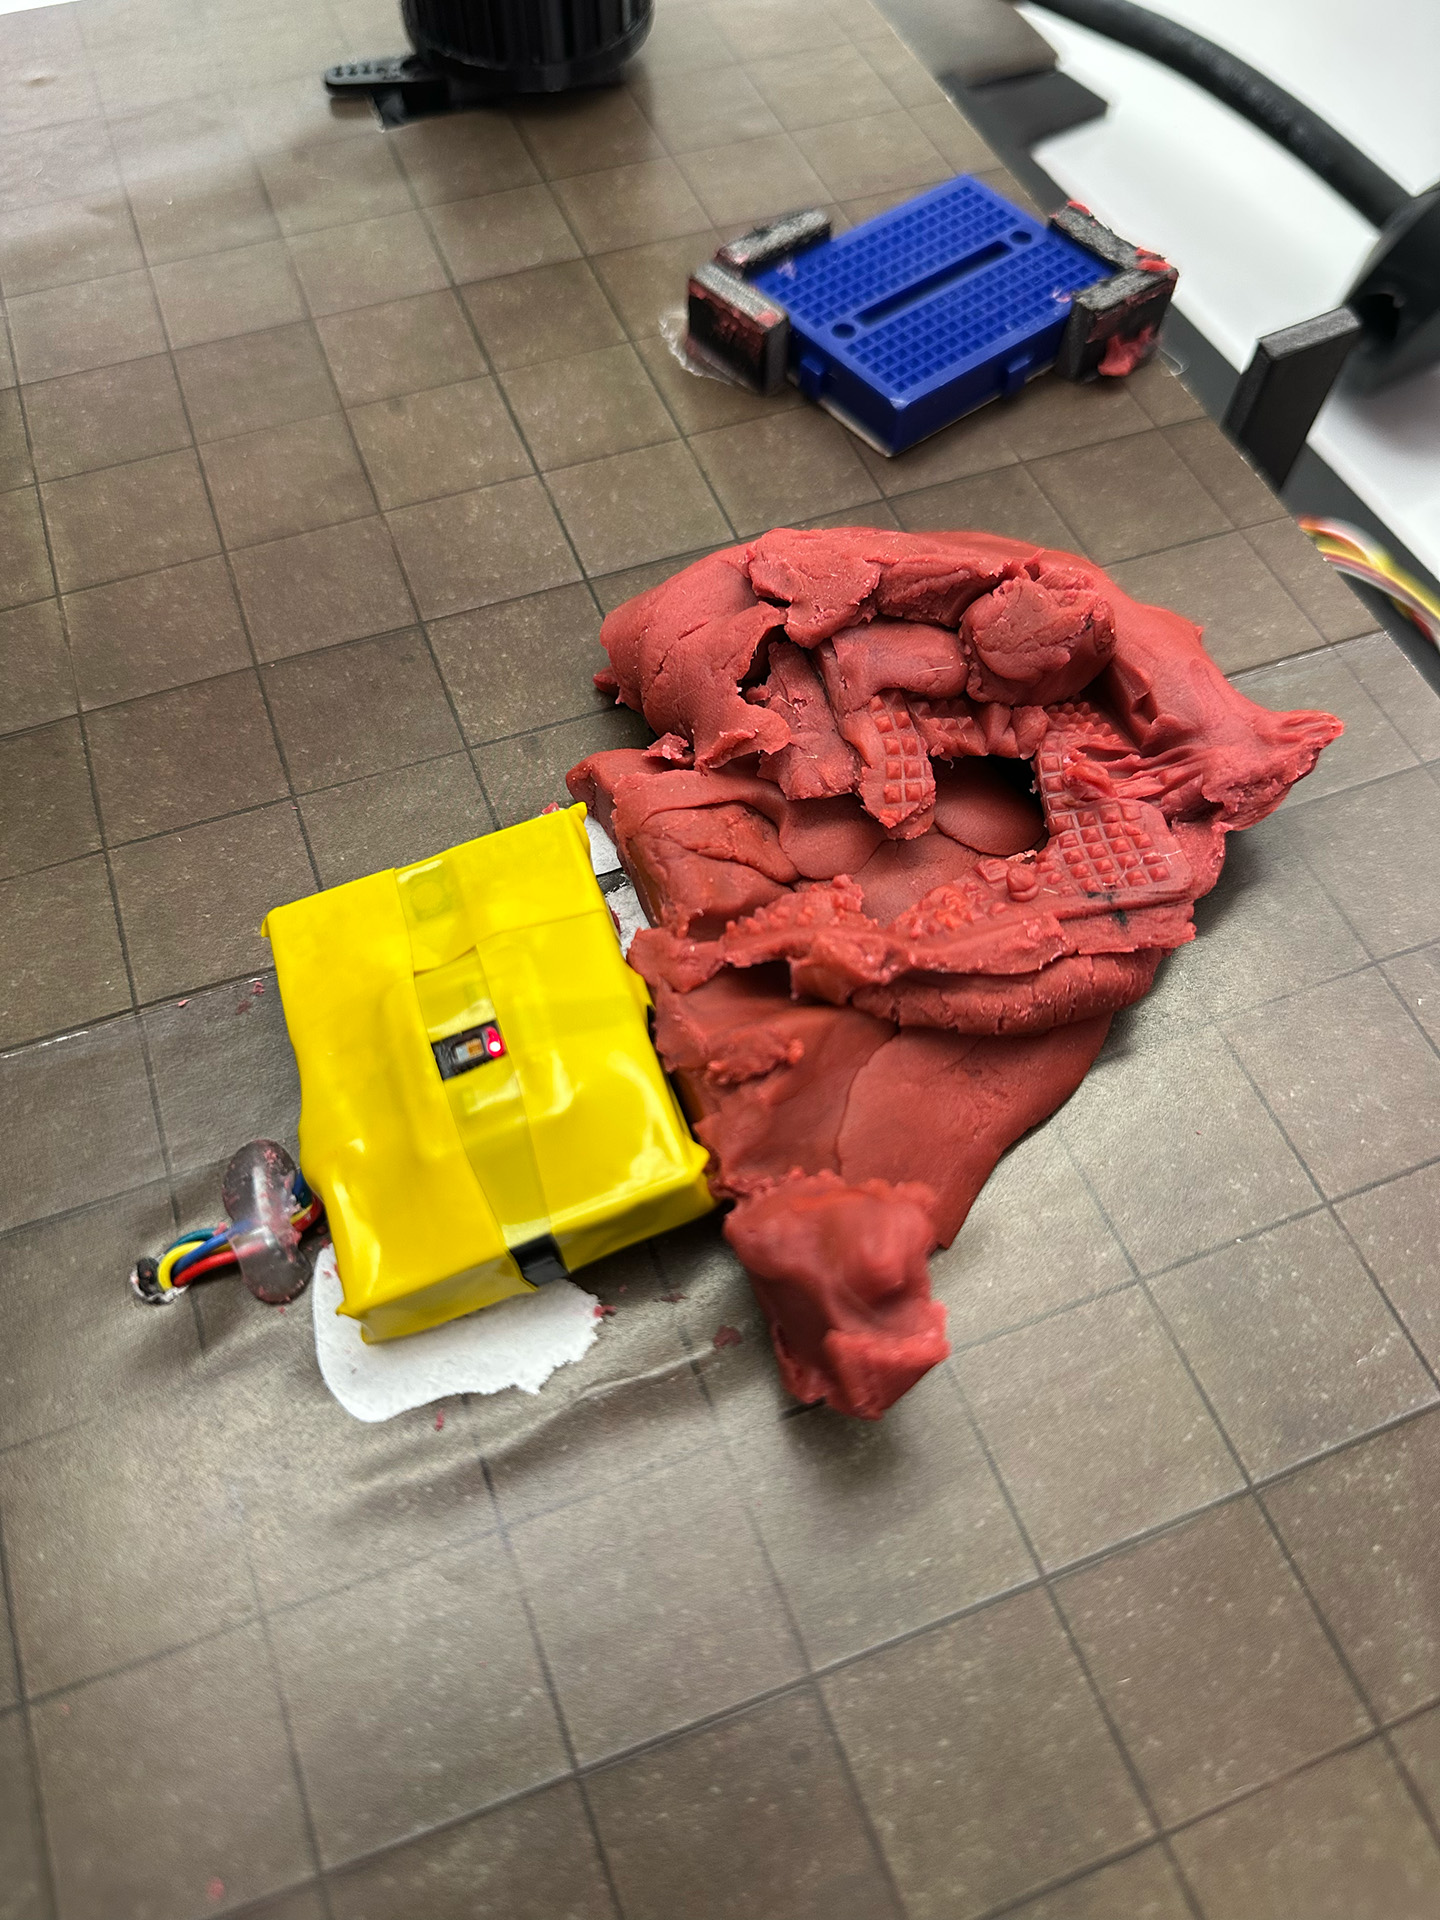
Controlling our heart rate while testing
Doing jumping jacks in place to test the servo motor triggered by a high heart rate…
